When you log in to IniLingo you get to your dashboard.
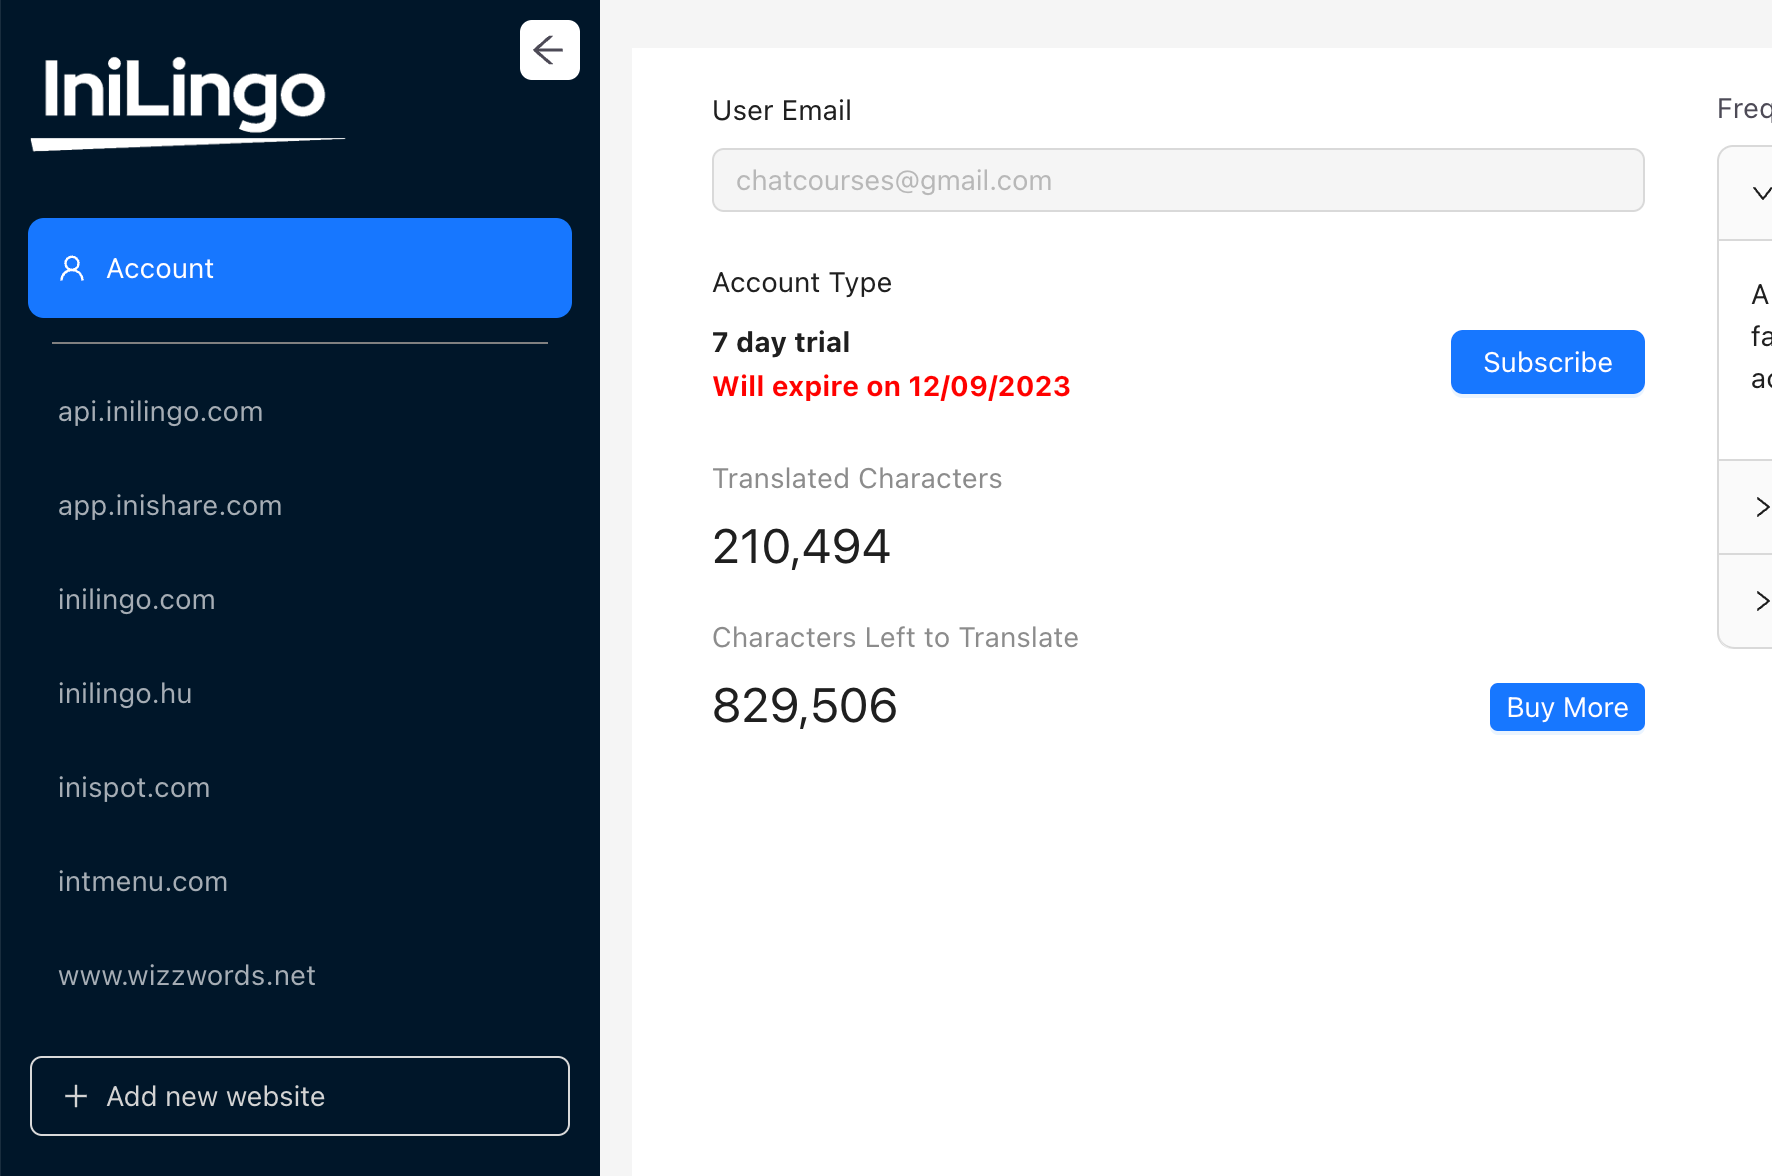
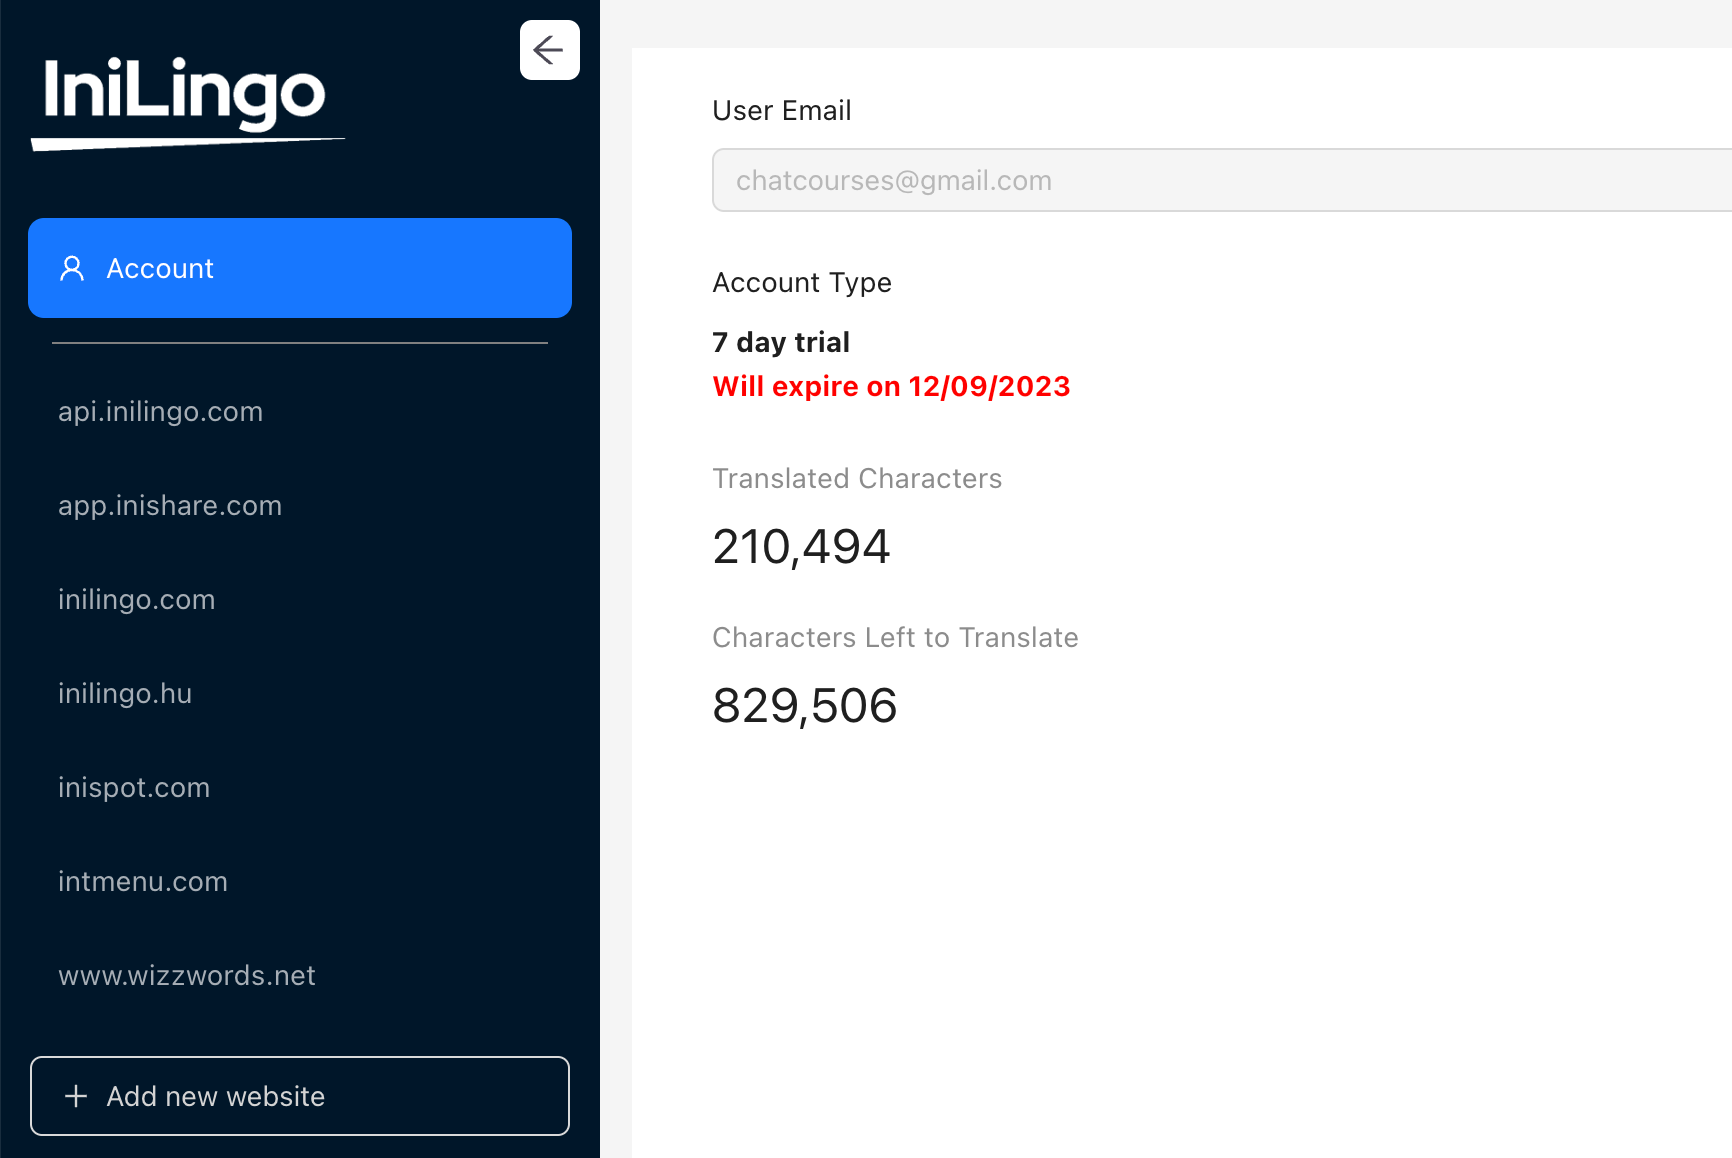
On the left you can select Account to view your general status, your subscription and remaining translations or select any of your projects to look at the status of your website translations.

Under your account you will see some basic info, and this is where you can handle your subscription or buy more translations if you run out of it.
This is where you can handle your account status. Basically there are two status here, Translator and Pro which you can subscribe to here by clicking the Subscribe button and following the instructions. Translator allows you to translate your website to any number of languages, Pro makes it possible to run Search Engine Optimization on your translated sites (i.e. they will appear on Google Search and other search engines.)
IniLingo uses commercial Translations engines but contrary to other providers we only charge you for translations once. So if your website has 200,000 characters on it and you translate it to 5 languages it will cost you 1,000,000 characters of translation. 1,000,000 characters depending on the original languages means between 300 and 500 typed pages of translations.
When something is translated once, the translation is saved so this is a one-time expense.
This is where you can buy more translations for your webpages. Just click on the Buy more button fill out the requested data, and you will see that the newly bought characters are added to your reserves.

You will get emails if you run out of money for translation.
On the left side of the dashboard you will see your projects listed. Each project is a website translated.

Click on the project you want to work with.
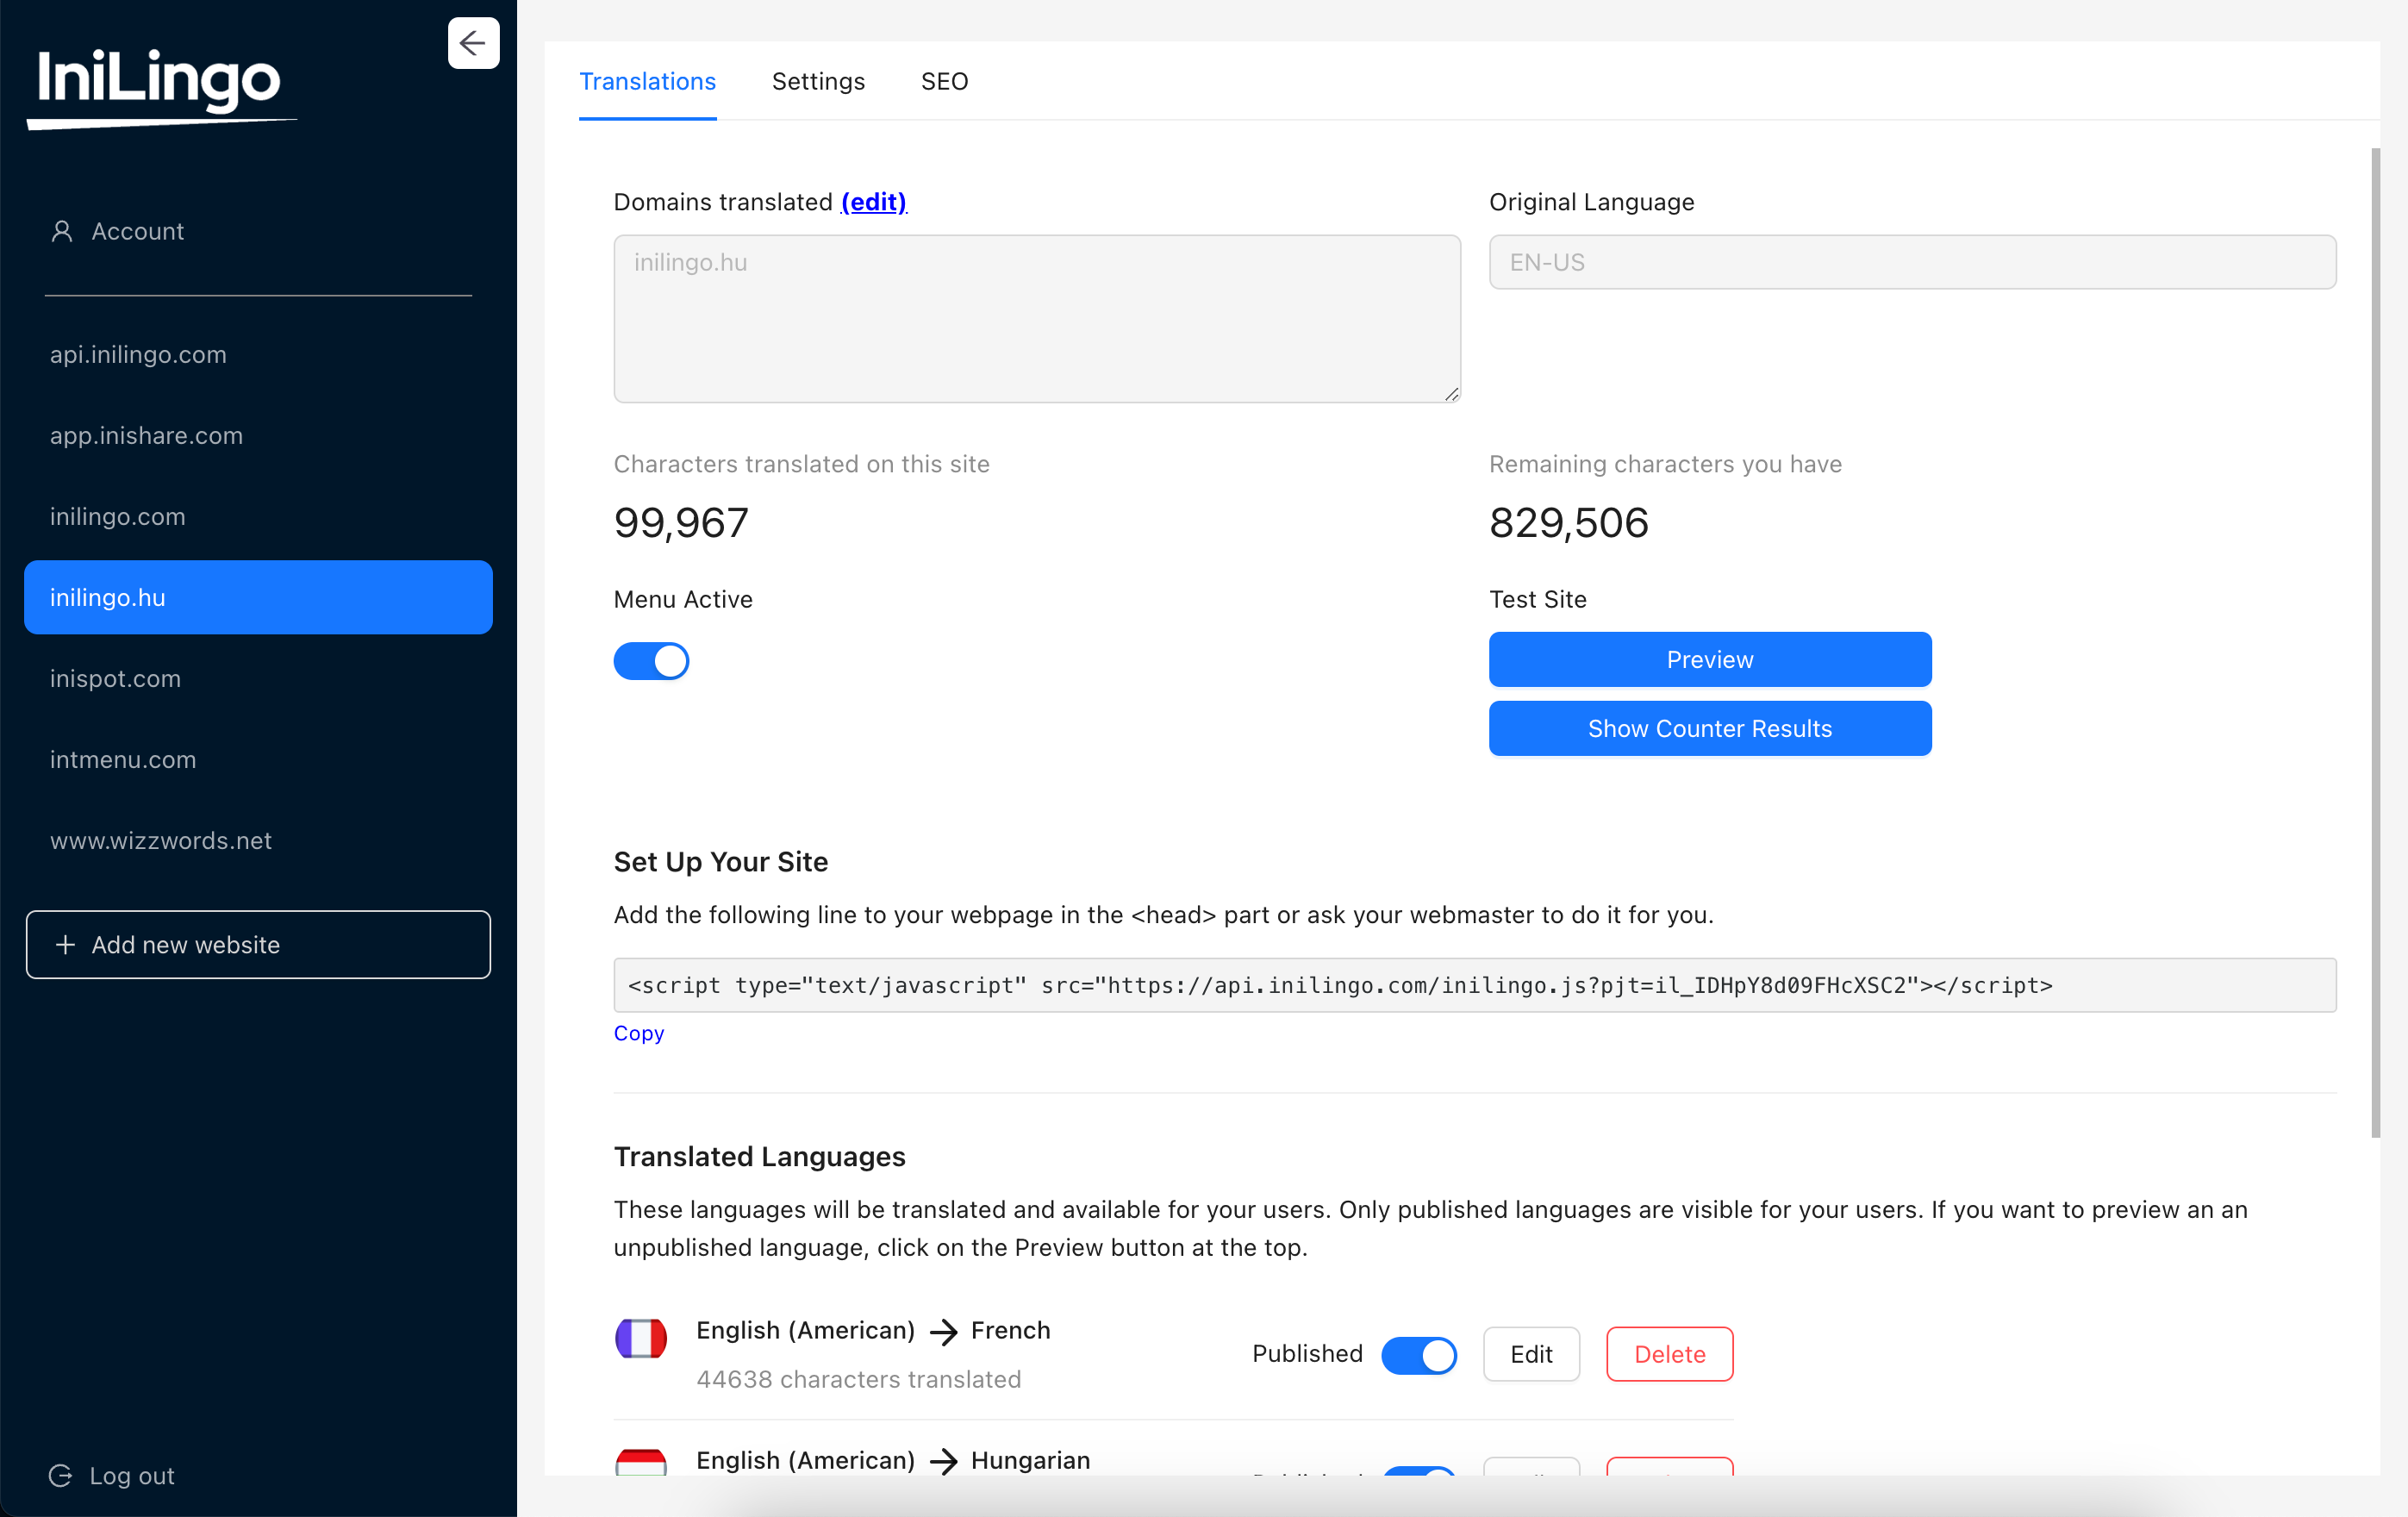
On the right side you will see the basic data about your project.

You will see three tabs at the top. Translations, Settings and SEO.

Under Translations you will see all data about the existing translations for your website.

At the top you will see the domains which are being translated. One project can translate only one website, but often several domain names pulls up the same website. On the left you will see the list of domains which this project will translate for. You can add maximum 5 domain names.
On the right you will see the original language of the website which you translate. This cannot be changed. If you made a mistake setting it up, delete and recreate the project.
Then you will see the number of characters translated so far on this project and the number of characters you still have for translations in general.

If you don't have enough characters for translation you can buy more by clicking on the Buy more button. (Characters are sold in 500 000 packages, and you can buy more than one package.)
Then you will see a Menu Active switch. If you turn this off the whole translation operation will stop working and the menu will not be available for people.
On the left you will see two buttons under Test Site. The first one says Preview. If you click on it your webpage opens in a demo mode showing all languages being translated into even if the language is not visible for visitors.
The other buttons says Show Counter Results. This is explained later in a separate section.
Next you will see the short instructions on how to set up translations on your website. In general, it's just one line you have to add to your website. You can click on the See Instructions button to find out how to do this on your specific platform.

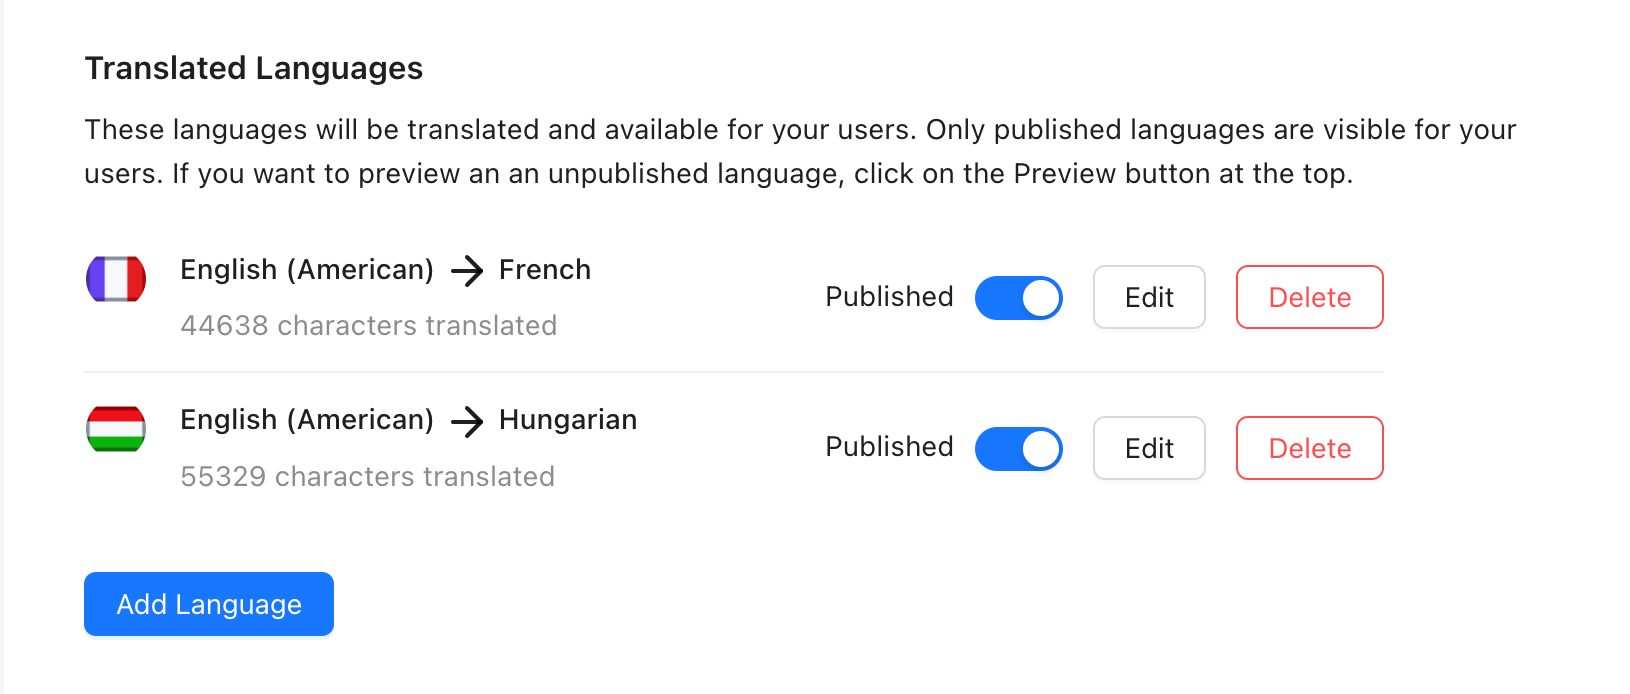
Then you will see the list of languages your website is being translated into.

You can add a language by clicking on the Add language button.
To edit the language translations click on the Edit button and read the Editing Translations article.
To delete a language click on the Delete button and follow the instructions.
To make a language visible to the visitors of your website, make sure the published switch is turned on. If it is turned off, the language will not appear in the language menu for visitors of your website but you can still view the translations if you click on the Preview button above.